
NOTE: See the end of this post for a tutorial on how to make your own “cave” out of stuff found at the hardware store.
At my school, I see my French students every other day for one hour throughout the trimester. That means I only see them, on average, for 30 days total. Choosing lessons for each of those 30 days is quite a challenge. There is SO much I want to teach them, SO little time, and I have to balance language and culture so that they aren’t overwhelmed in an introductory course.
Yesterday I gave one of those carefully chosen lessons, and it is easily the favorite. Every trimester of every year I have taught so far, students just absolutely love it. So what did we do? Well…we ‘traveled’ to France and explored the cave of Lascaux.

Said cave is actually made of plastic sheeting and other misc. supplies that can be found at almost any hardware store. We watch a short clip by Rick Steves and then go explore the ‘cave’. Once inside, students watch another clip (it is entirely in French but I tell students to focus on the imagery). Once that clip is finished, they use the light from the iPads to make their own cave drawing with crayons and paper while still inside the cave.
I originally saw this idea from a French teacher in the “French Teachers in the US” Facebook group, and have adapted and modified to fit my needs over the last three years. This version of the cave was the best yet, but I am already thinking ahead to next year and the tweaks I will make for an even better iteration.
DIY Cave Tutorial
Step 1
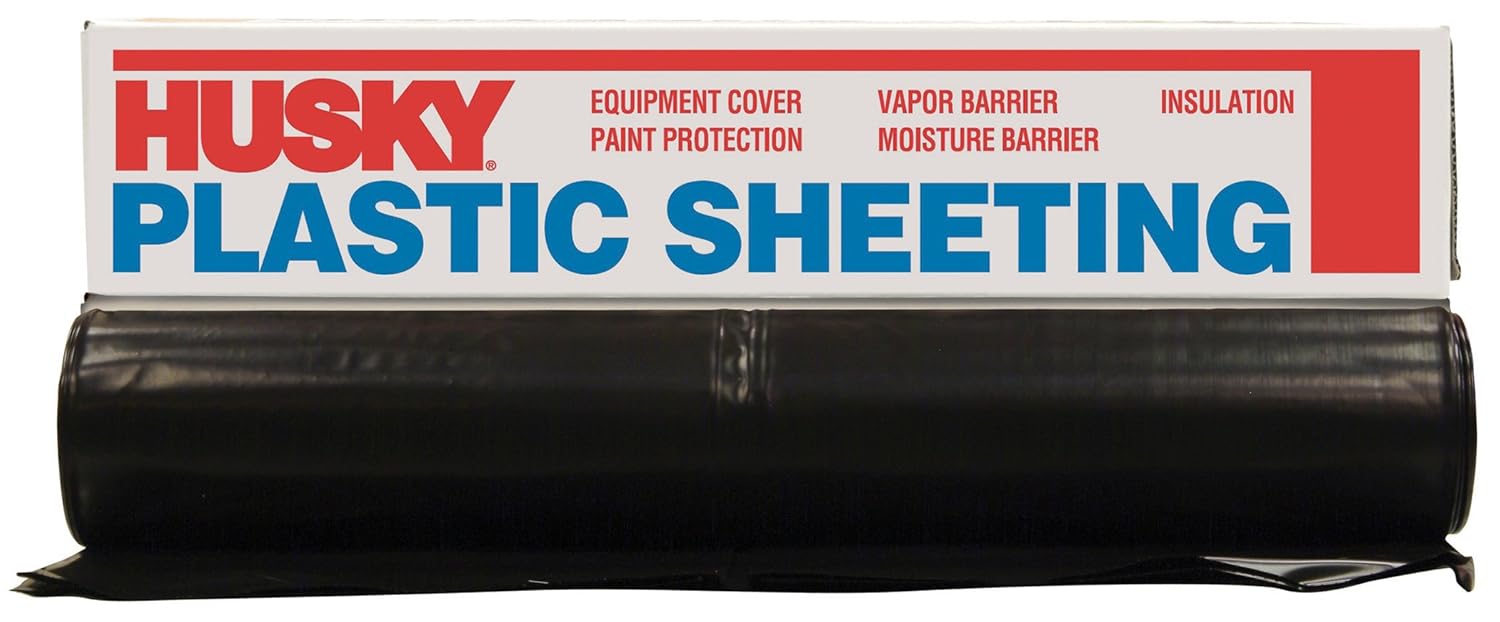
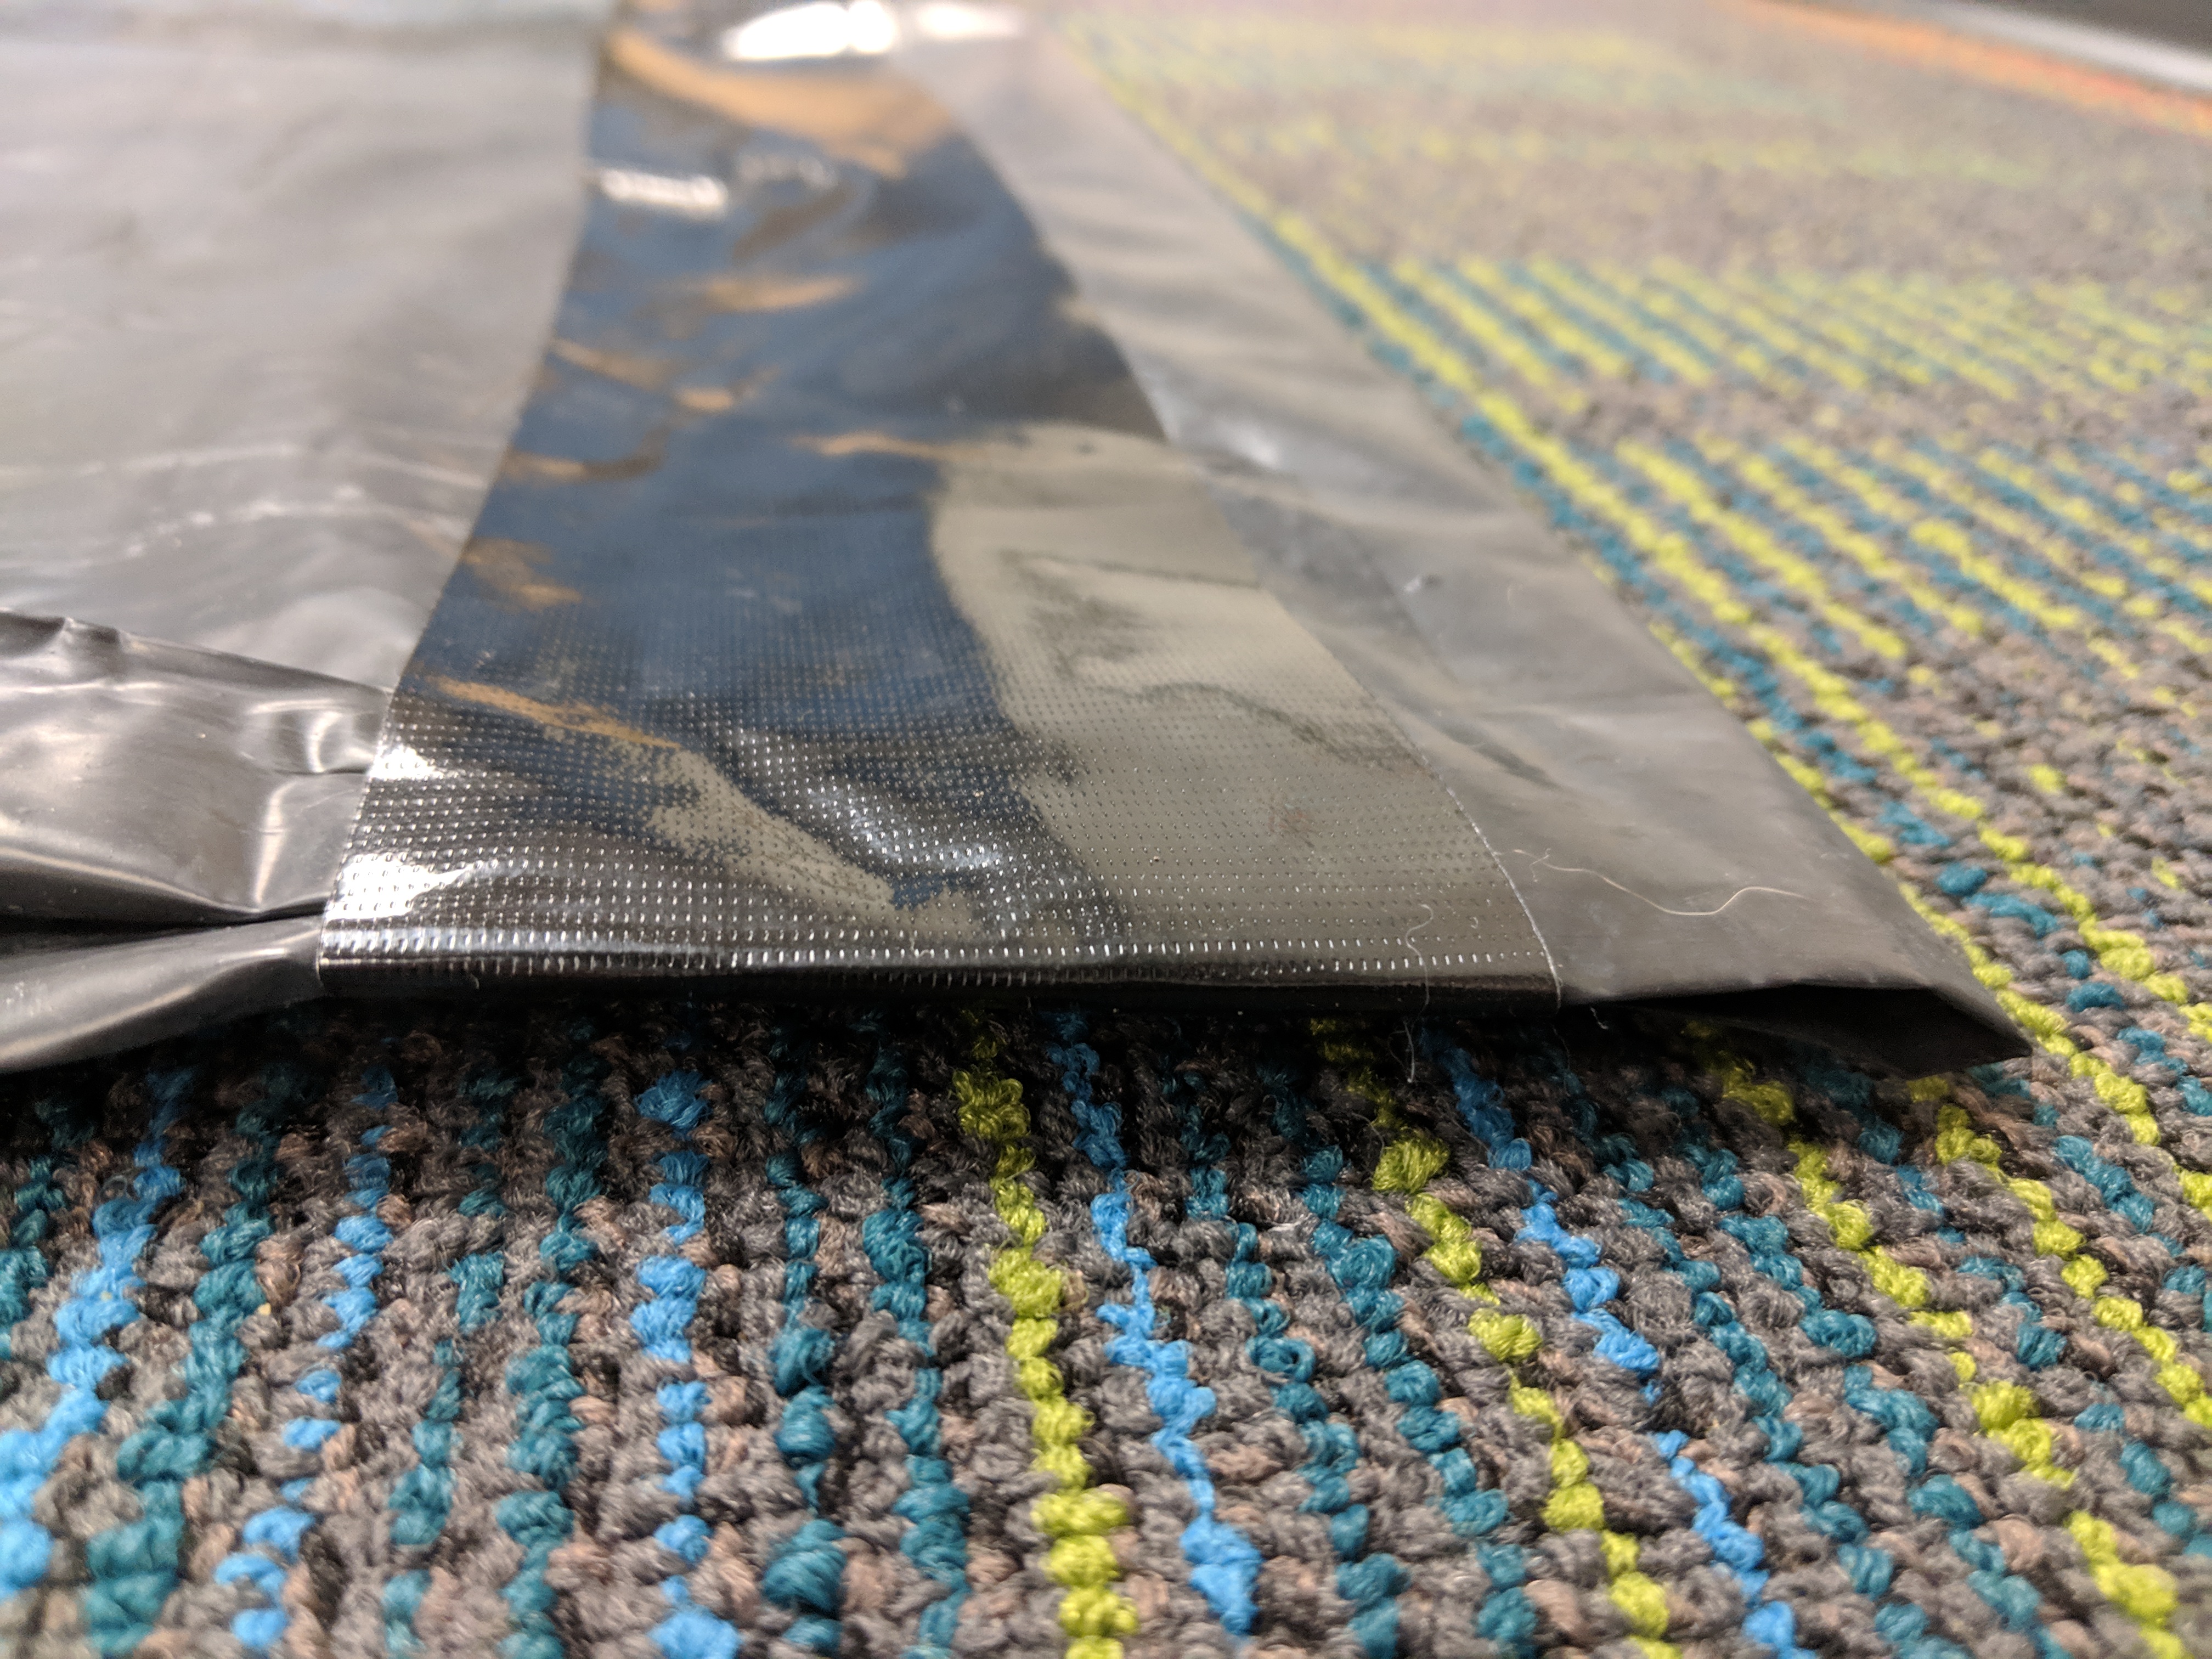
Buy a roll of 20′ by 50′ black plastic sheeting from the hardware store and roll it out on the floor to your desired length. I originally bought 2 or 2.5 mil (thickness) from Home Depot, but found that it was too thin and light was making it through the plastic. It also tore easier and was easily read to be thrown out at the end of that first year. Here is a link to the sheeting I bought last year that was used to make this cave. 4 mil doesn’t let any light in, holds up better to student abuse, and is still light enough to be held up by the fans. 3 mil might work too, and could possibly be held up by just one fan.
Step 2
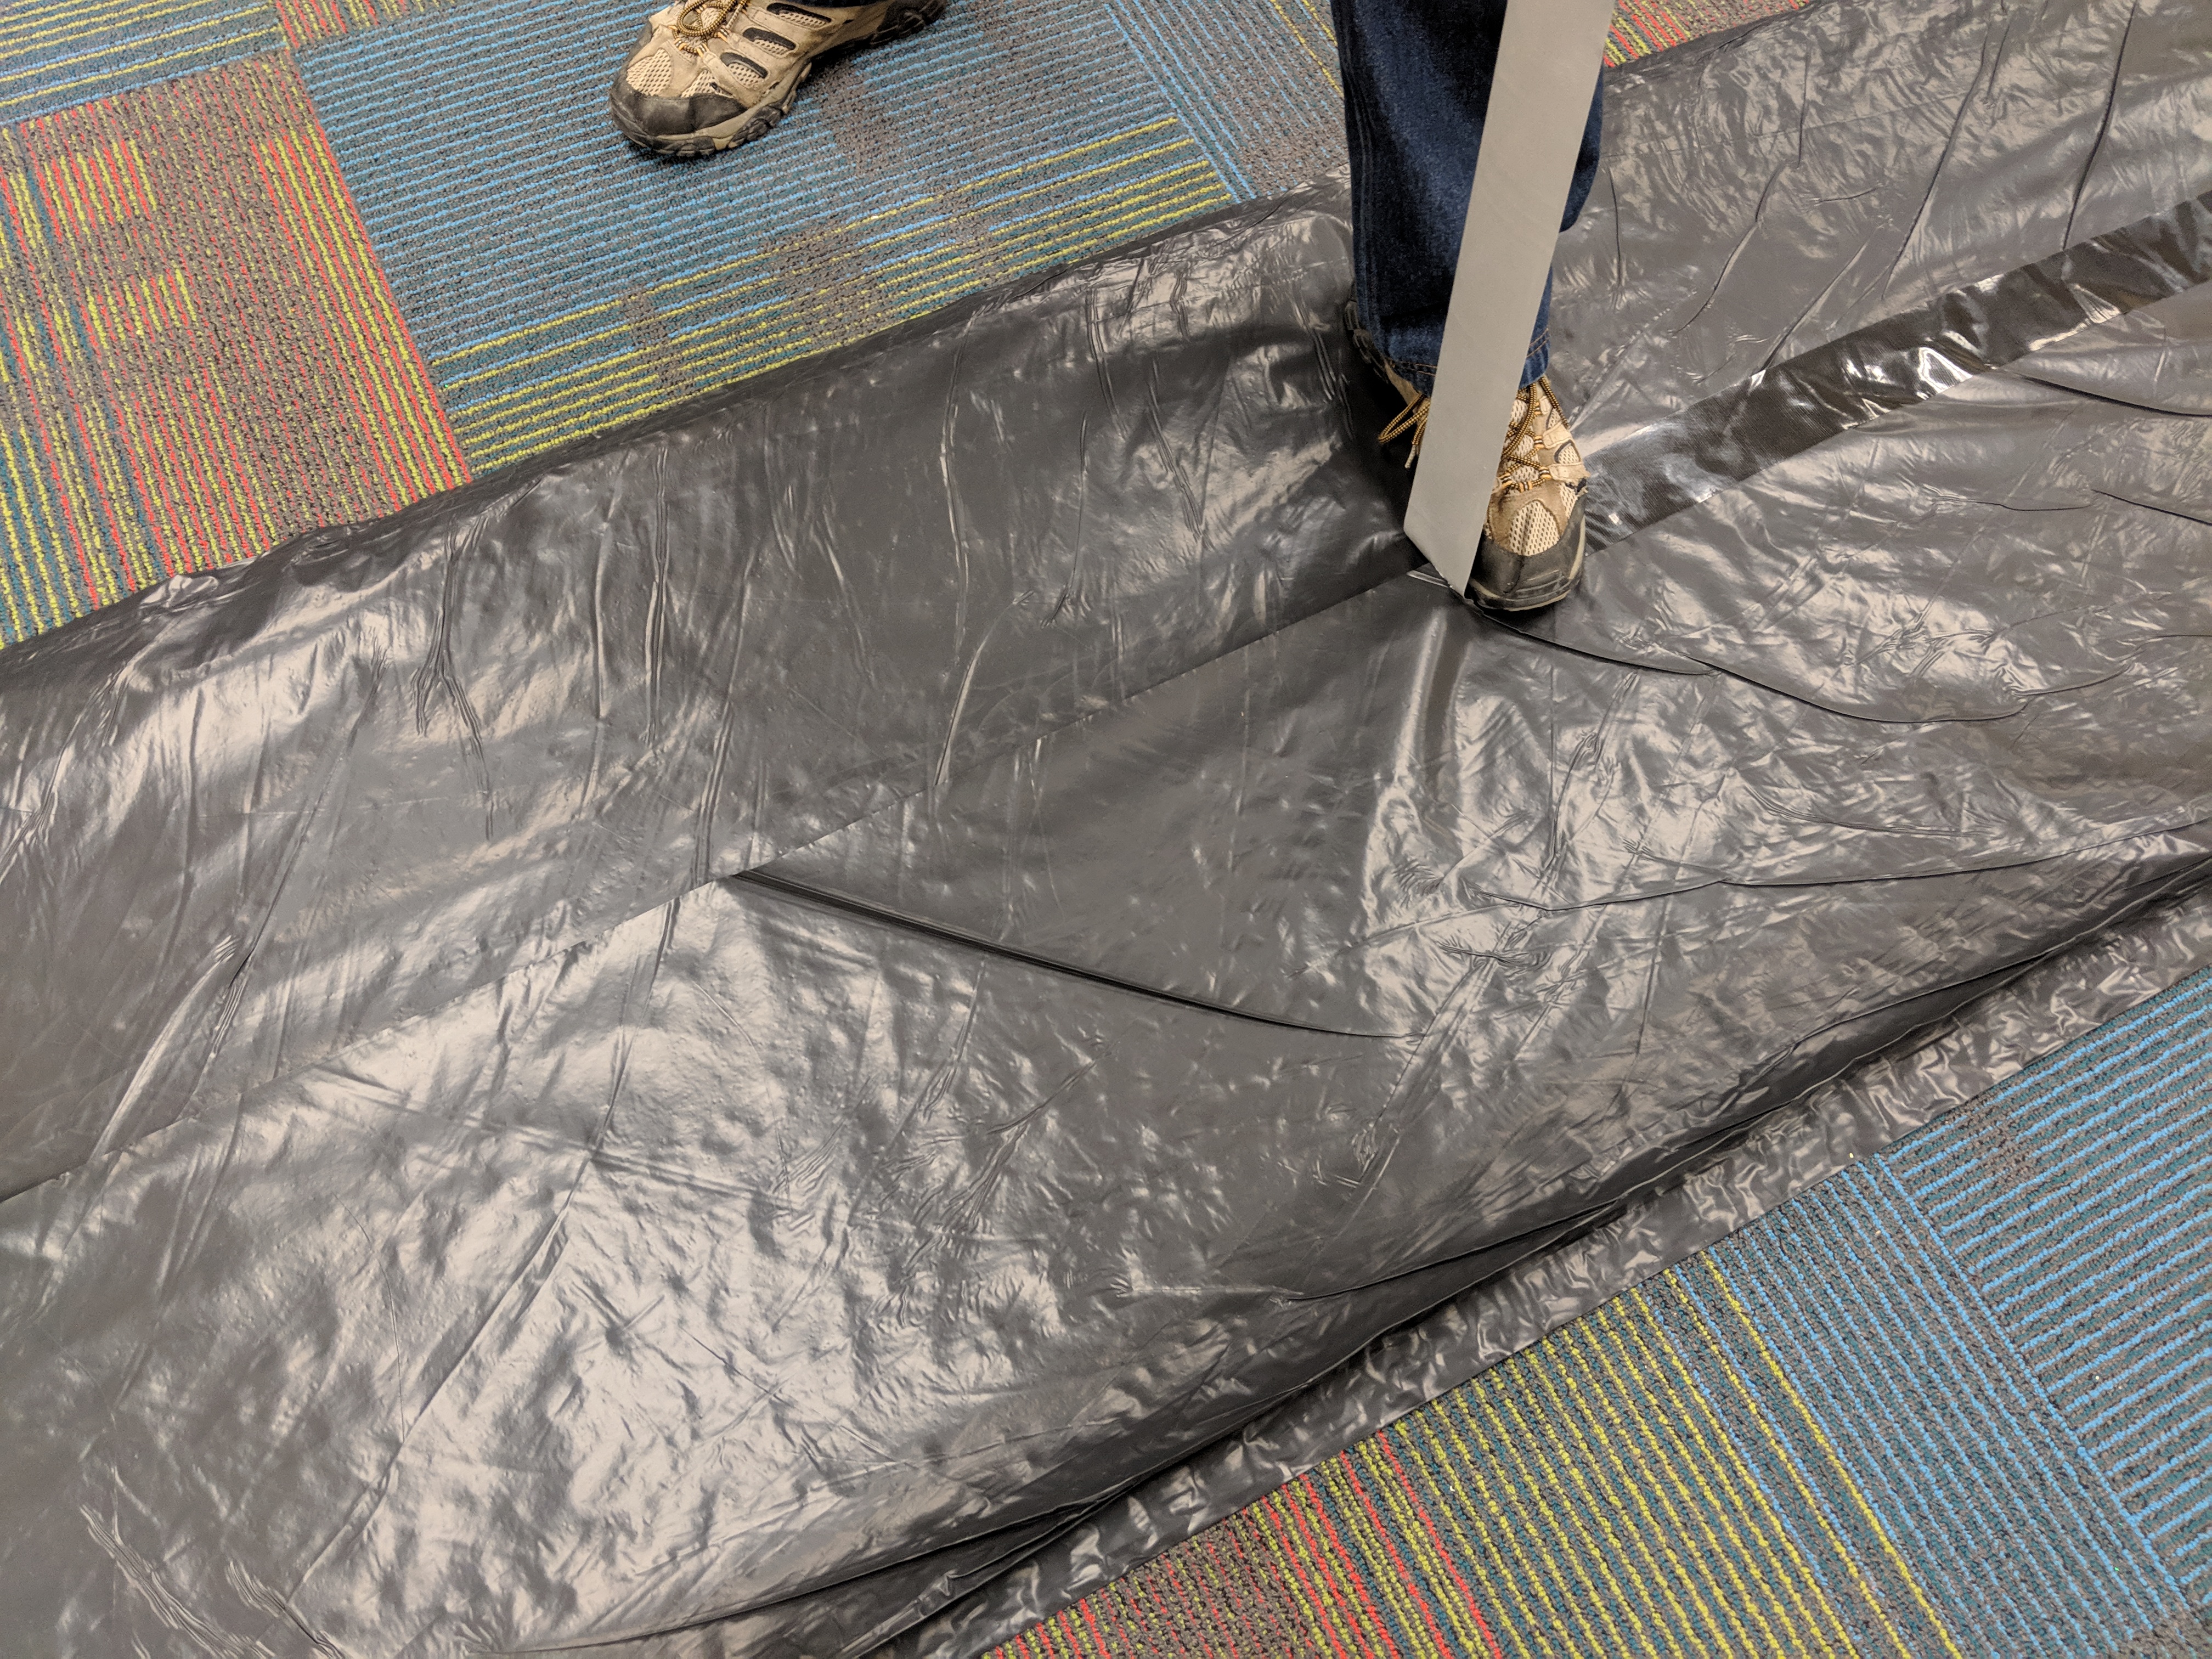
Carefully lay the sheeting out as long as you want the cave to be. This year’s version is about 30ft long. I say to carefully lay it out because if you do it correctly, the manufacturer has packaged it so that the edges of the tube are next to each other when rolled out directly from the box. You can see this in the pictures below.


Step 3
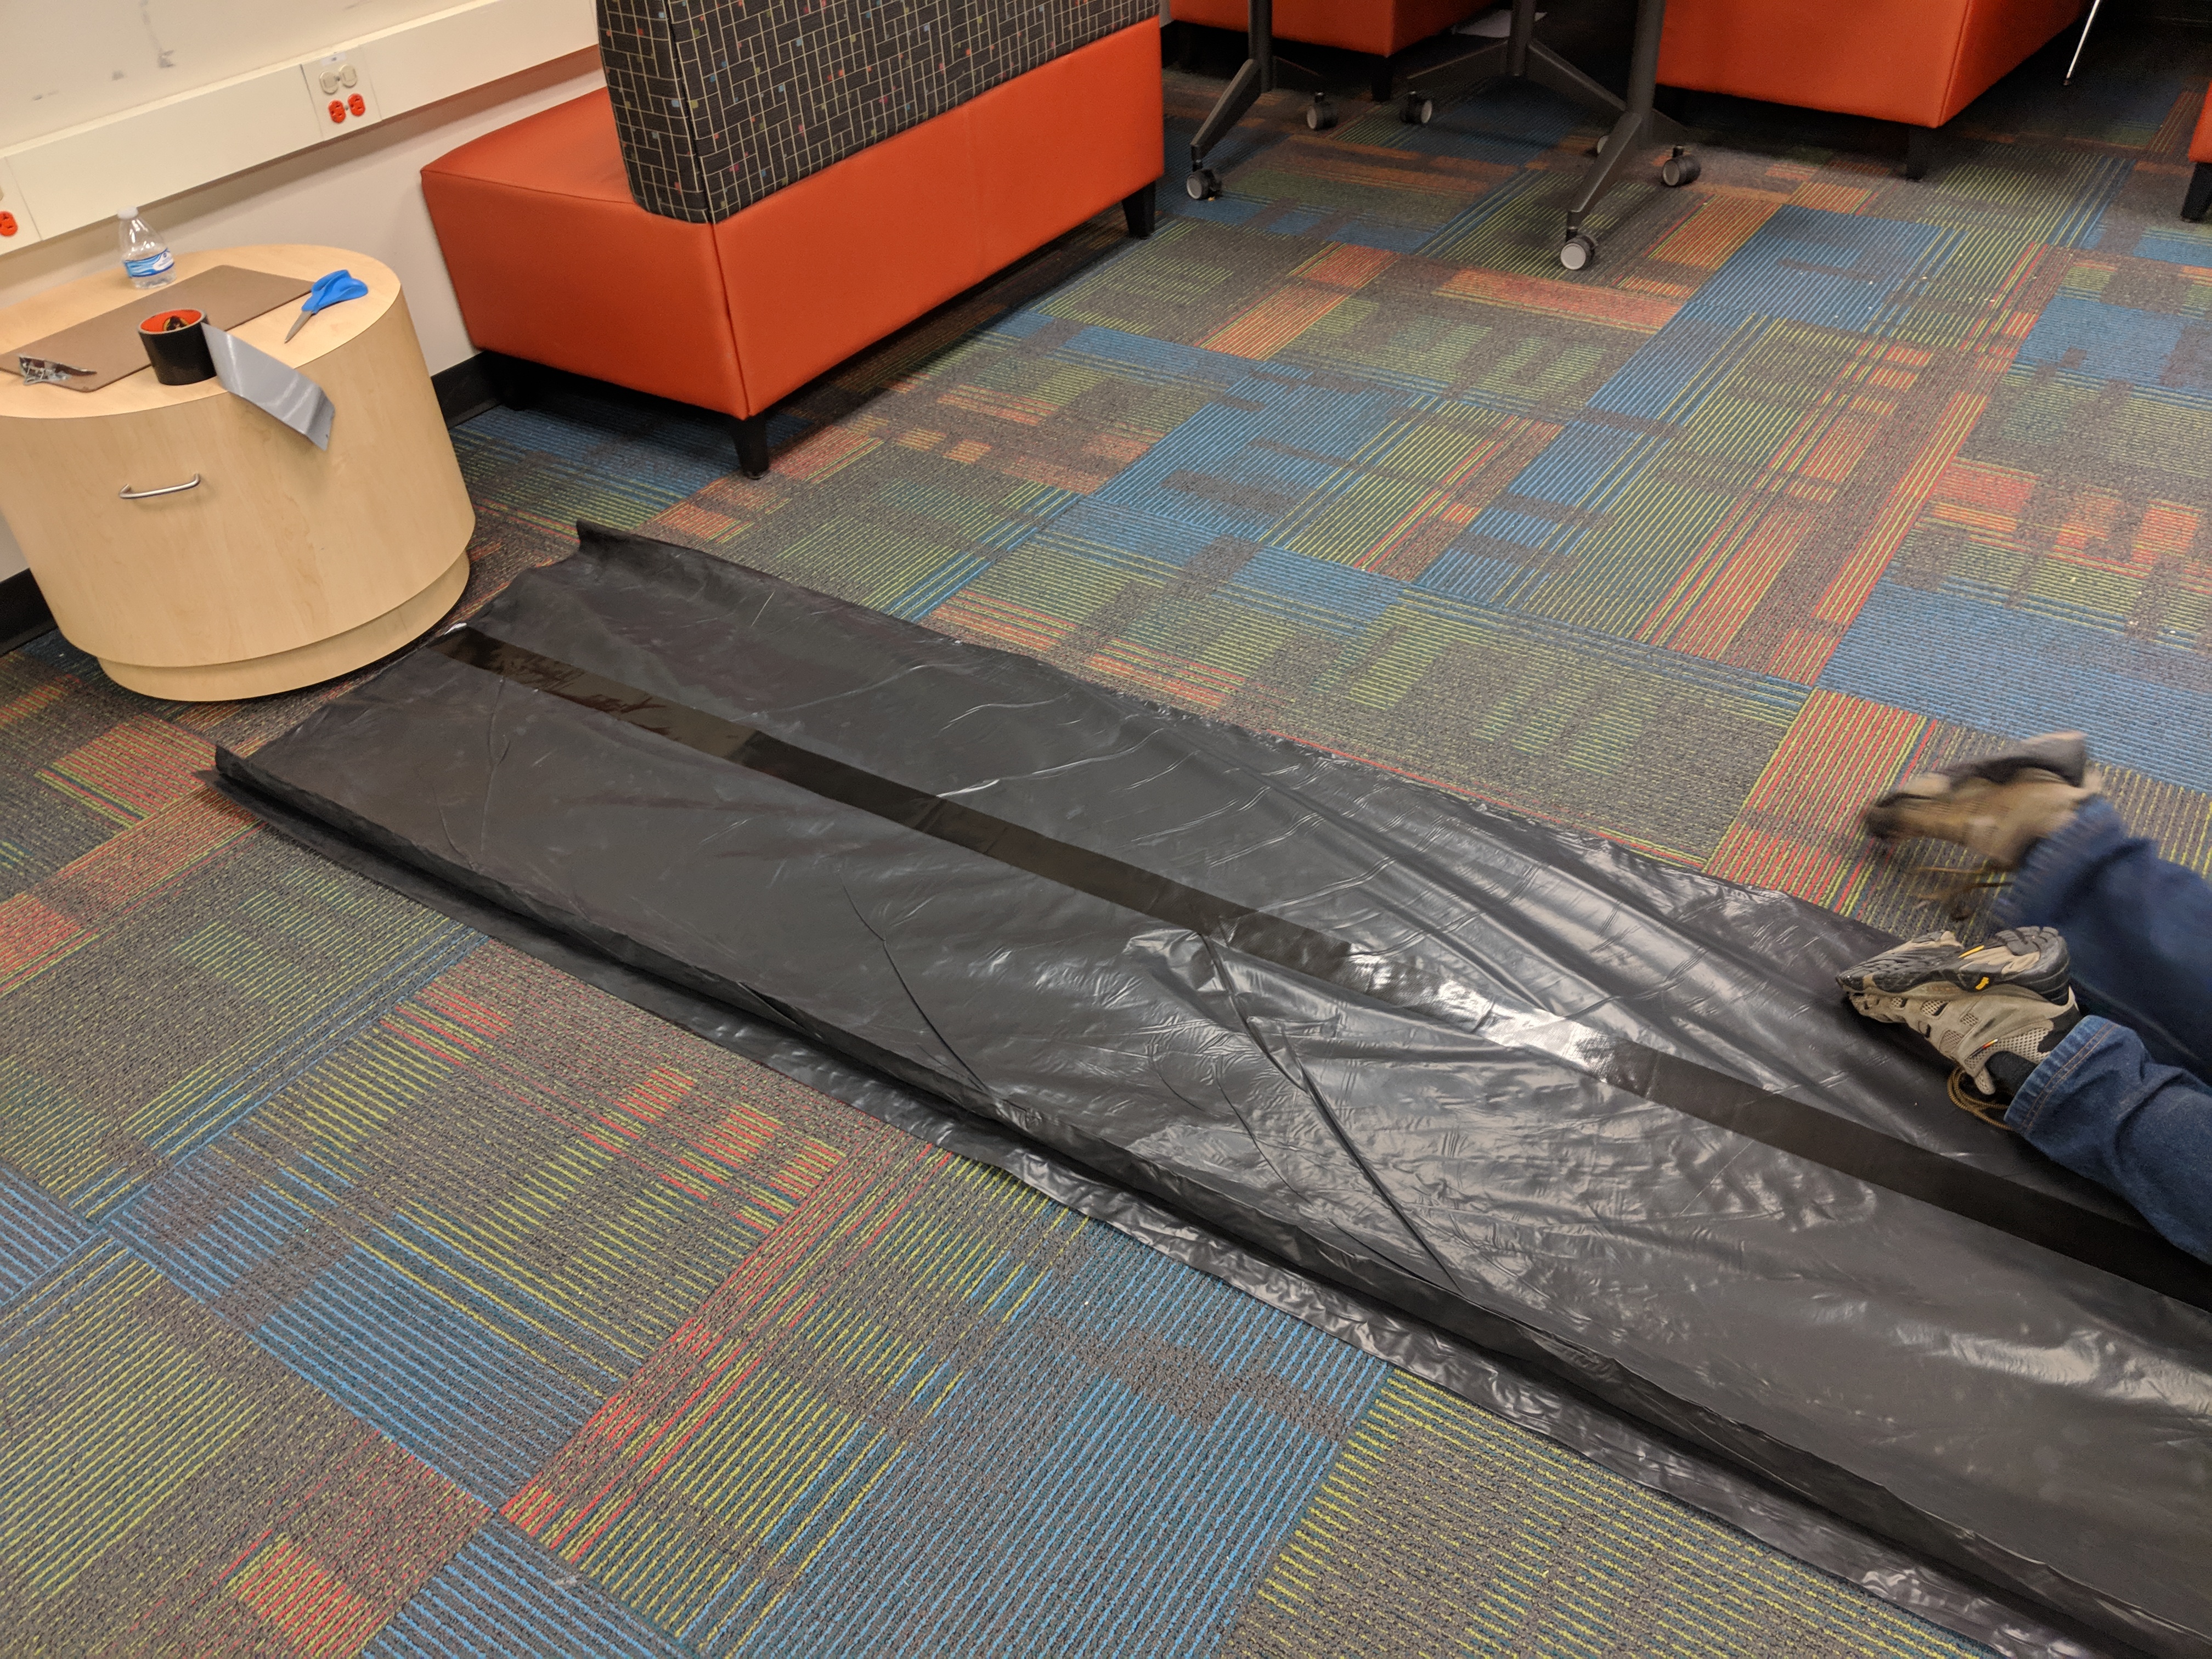
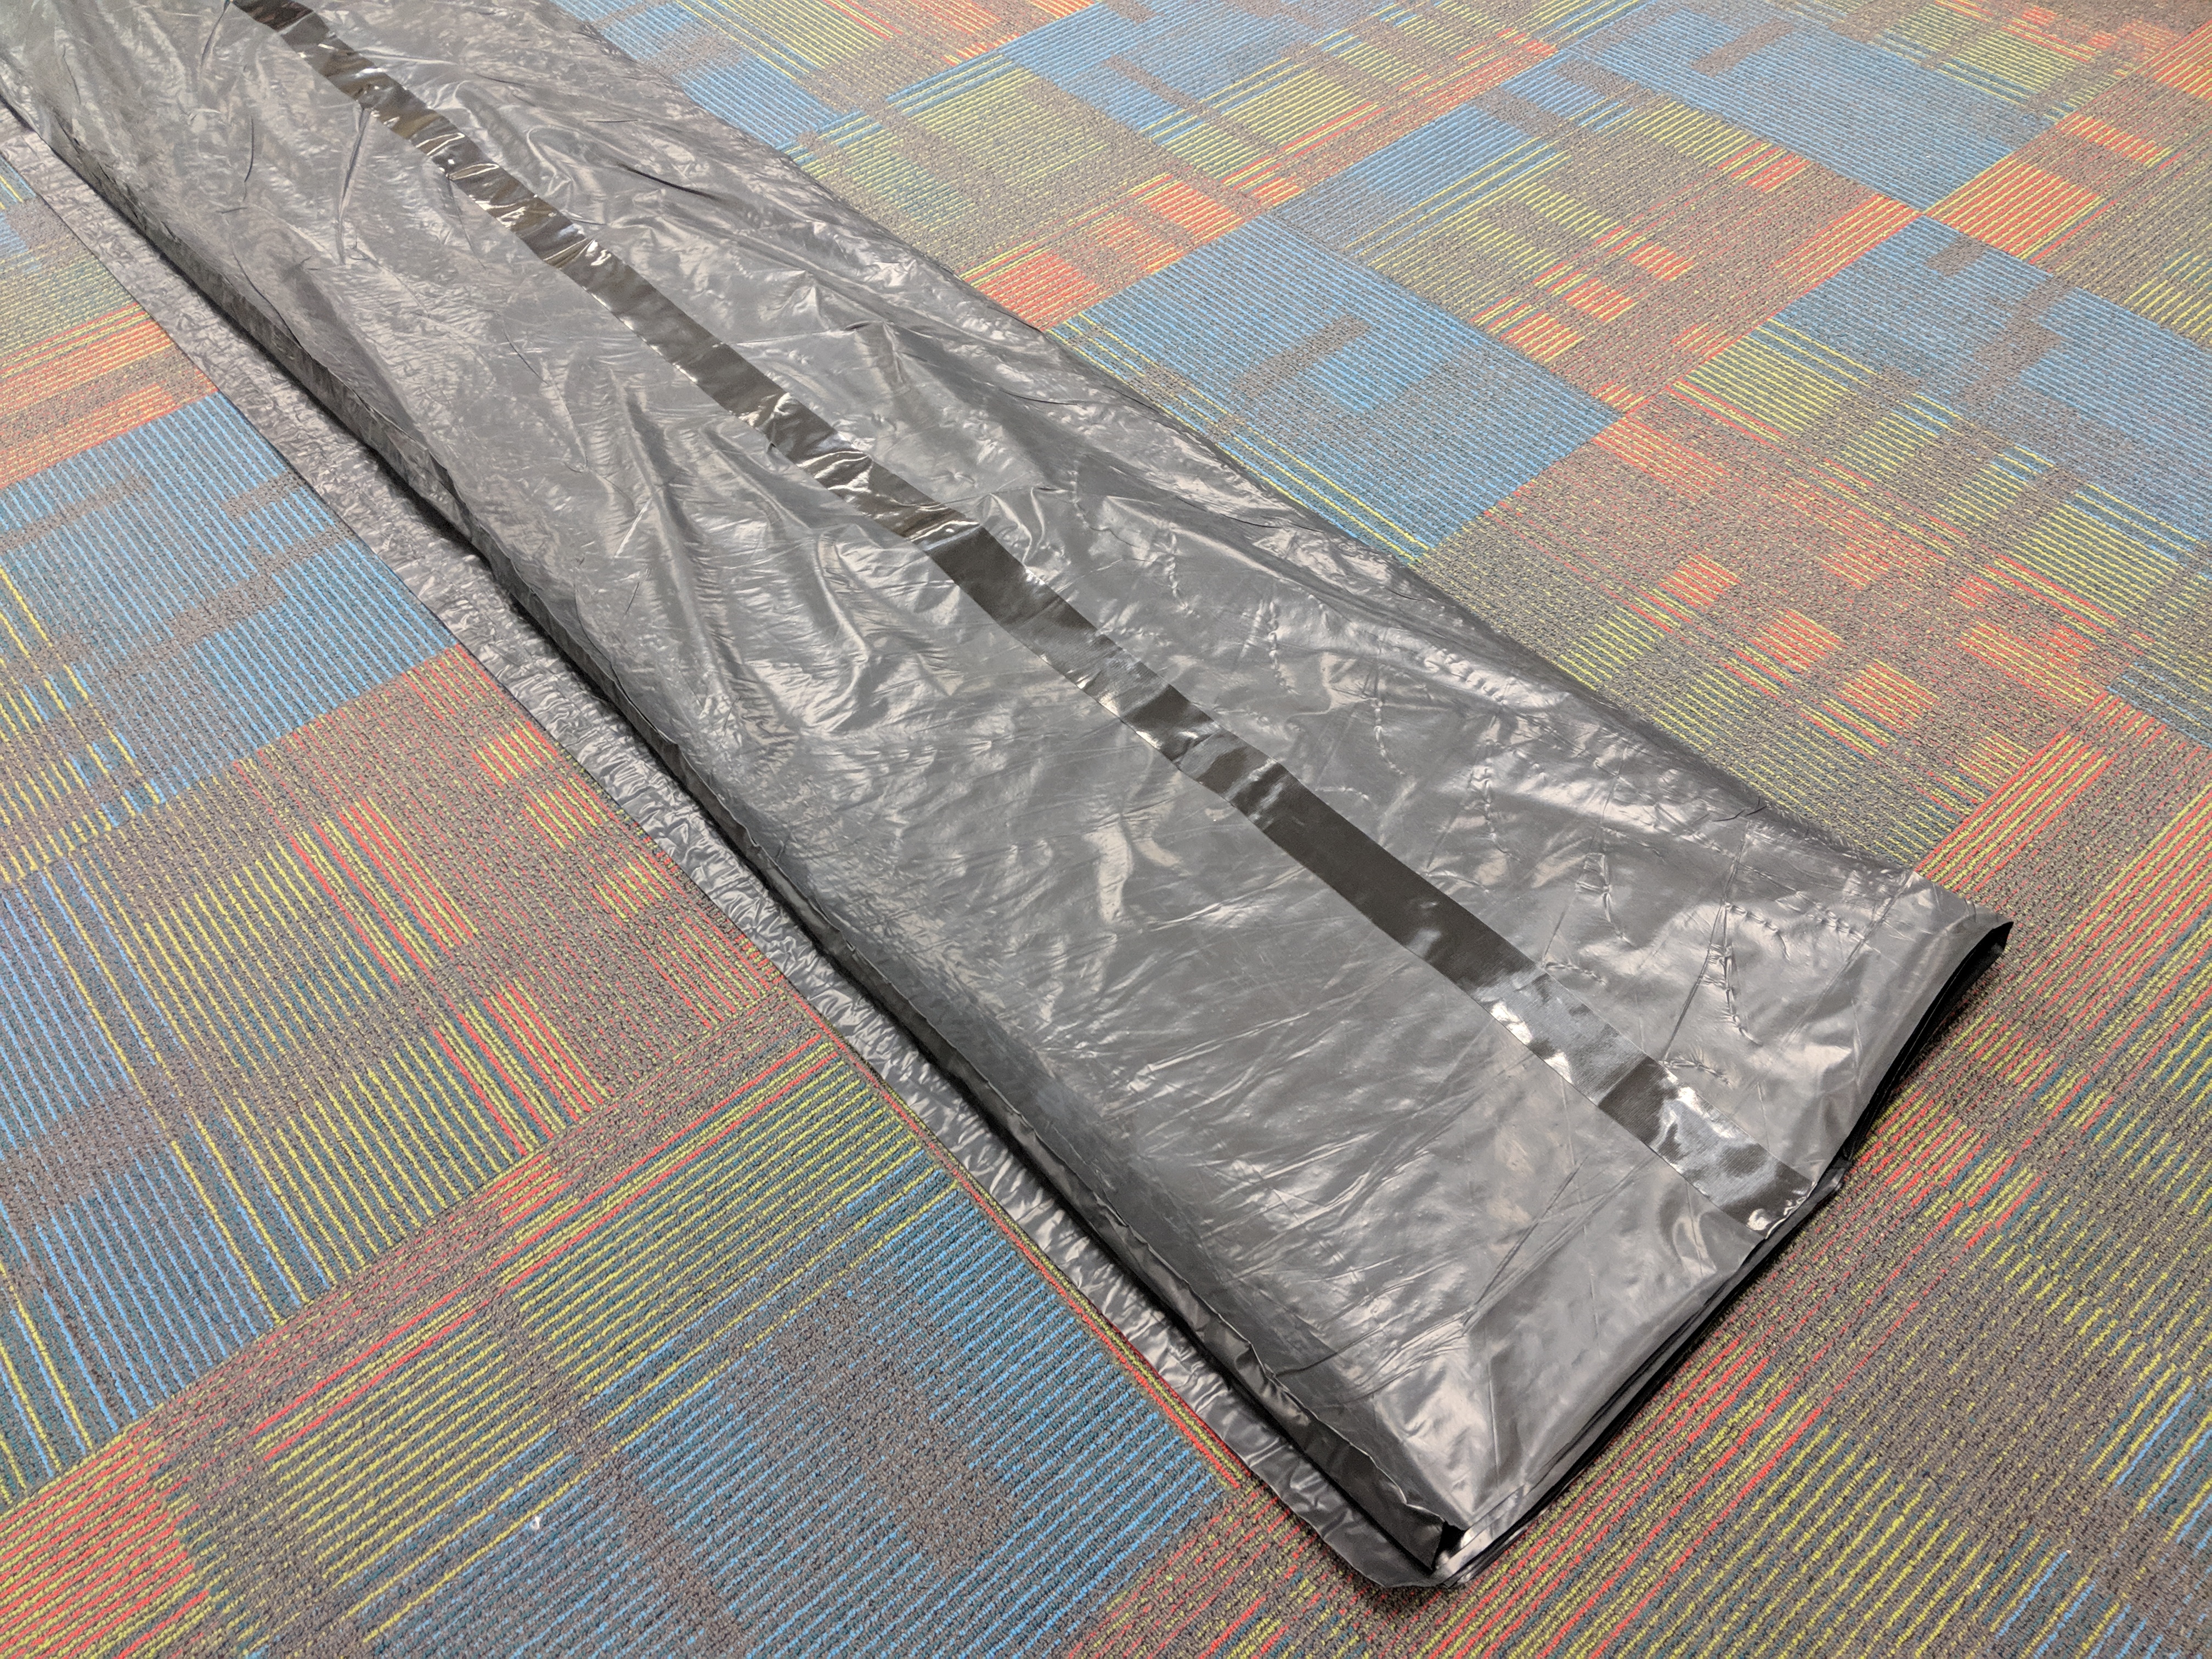
Tape up the seam along the length of the sheeting, slightly overlapping the layers so that the tape doesn’t stick to the inside of the bottom layer. I highly highly recommend using Gorilla Tape. I’ve never tried another tape as the person from whom I got this idea used it in theirs, and it has worked so well that I’ve never needed to try another.


Step 4
Tape up one end of the tube. You have a choice here, and there are pros and cons to each version.
- You can leave the tube folded up as it was packaged (or slightly unfolded to be more symmetrical like I did), and tape the end shut. This method uses less tape and takes less time, and the finished product still works very well.
- You can completely unfold the tube now that you’ve taped up the seam, and then tape the end up once it is fully extended (what I did for a previous iteration). This method uses more tape and takes more time, but I think that the end product will stand up to more wear and tear and will leave slightly more room at the back for students. This can be important if your students are younger and can’t help but fidget around. It will also make it easier to fold back up at the end of the day.

Step 5
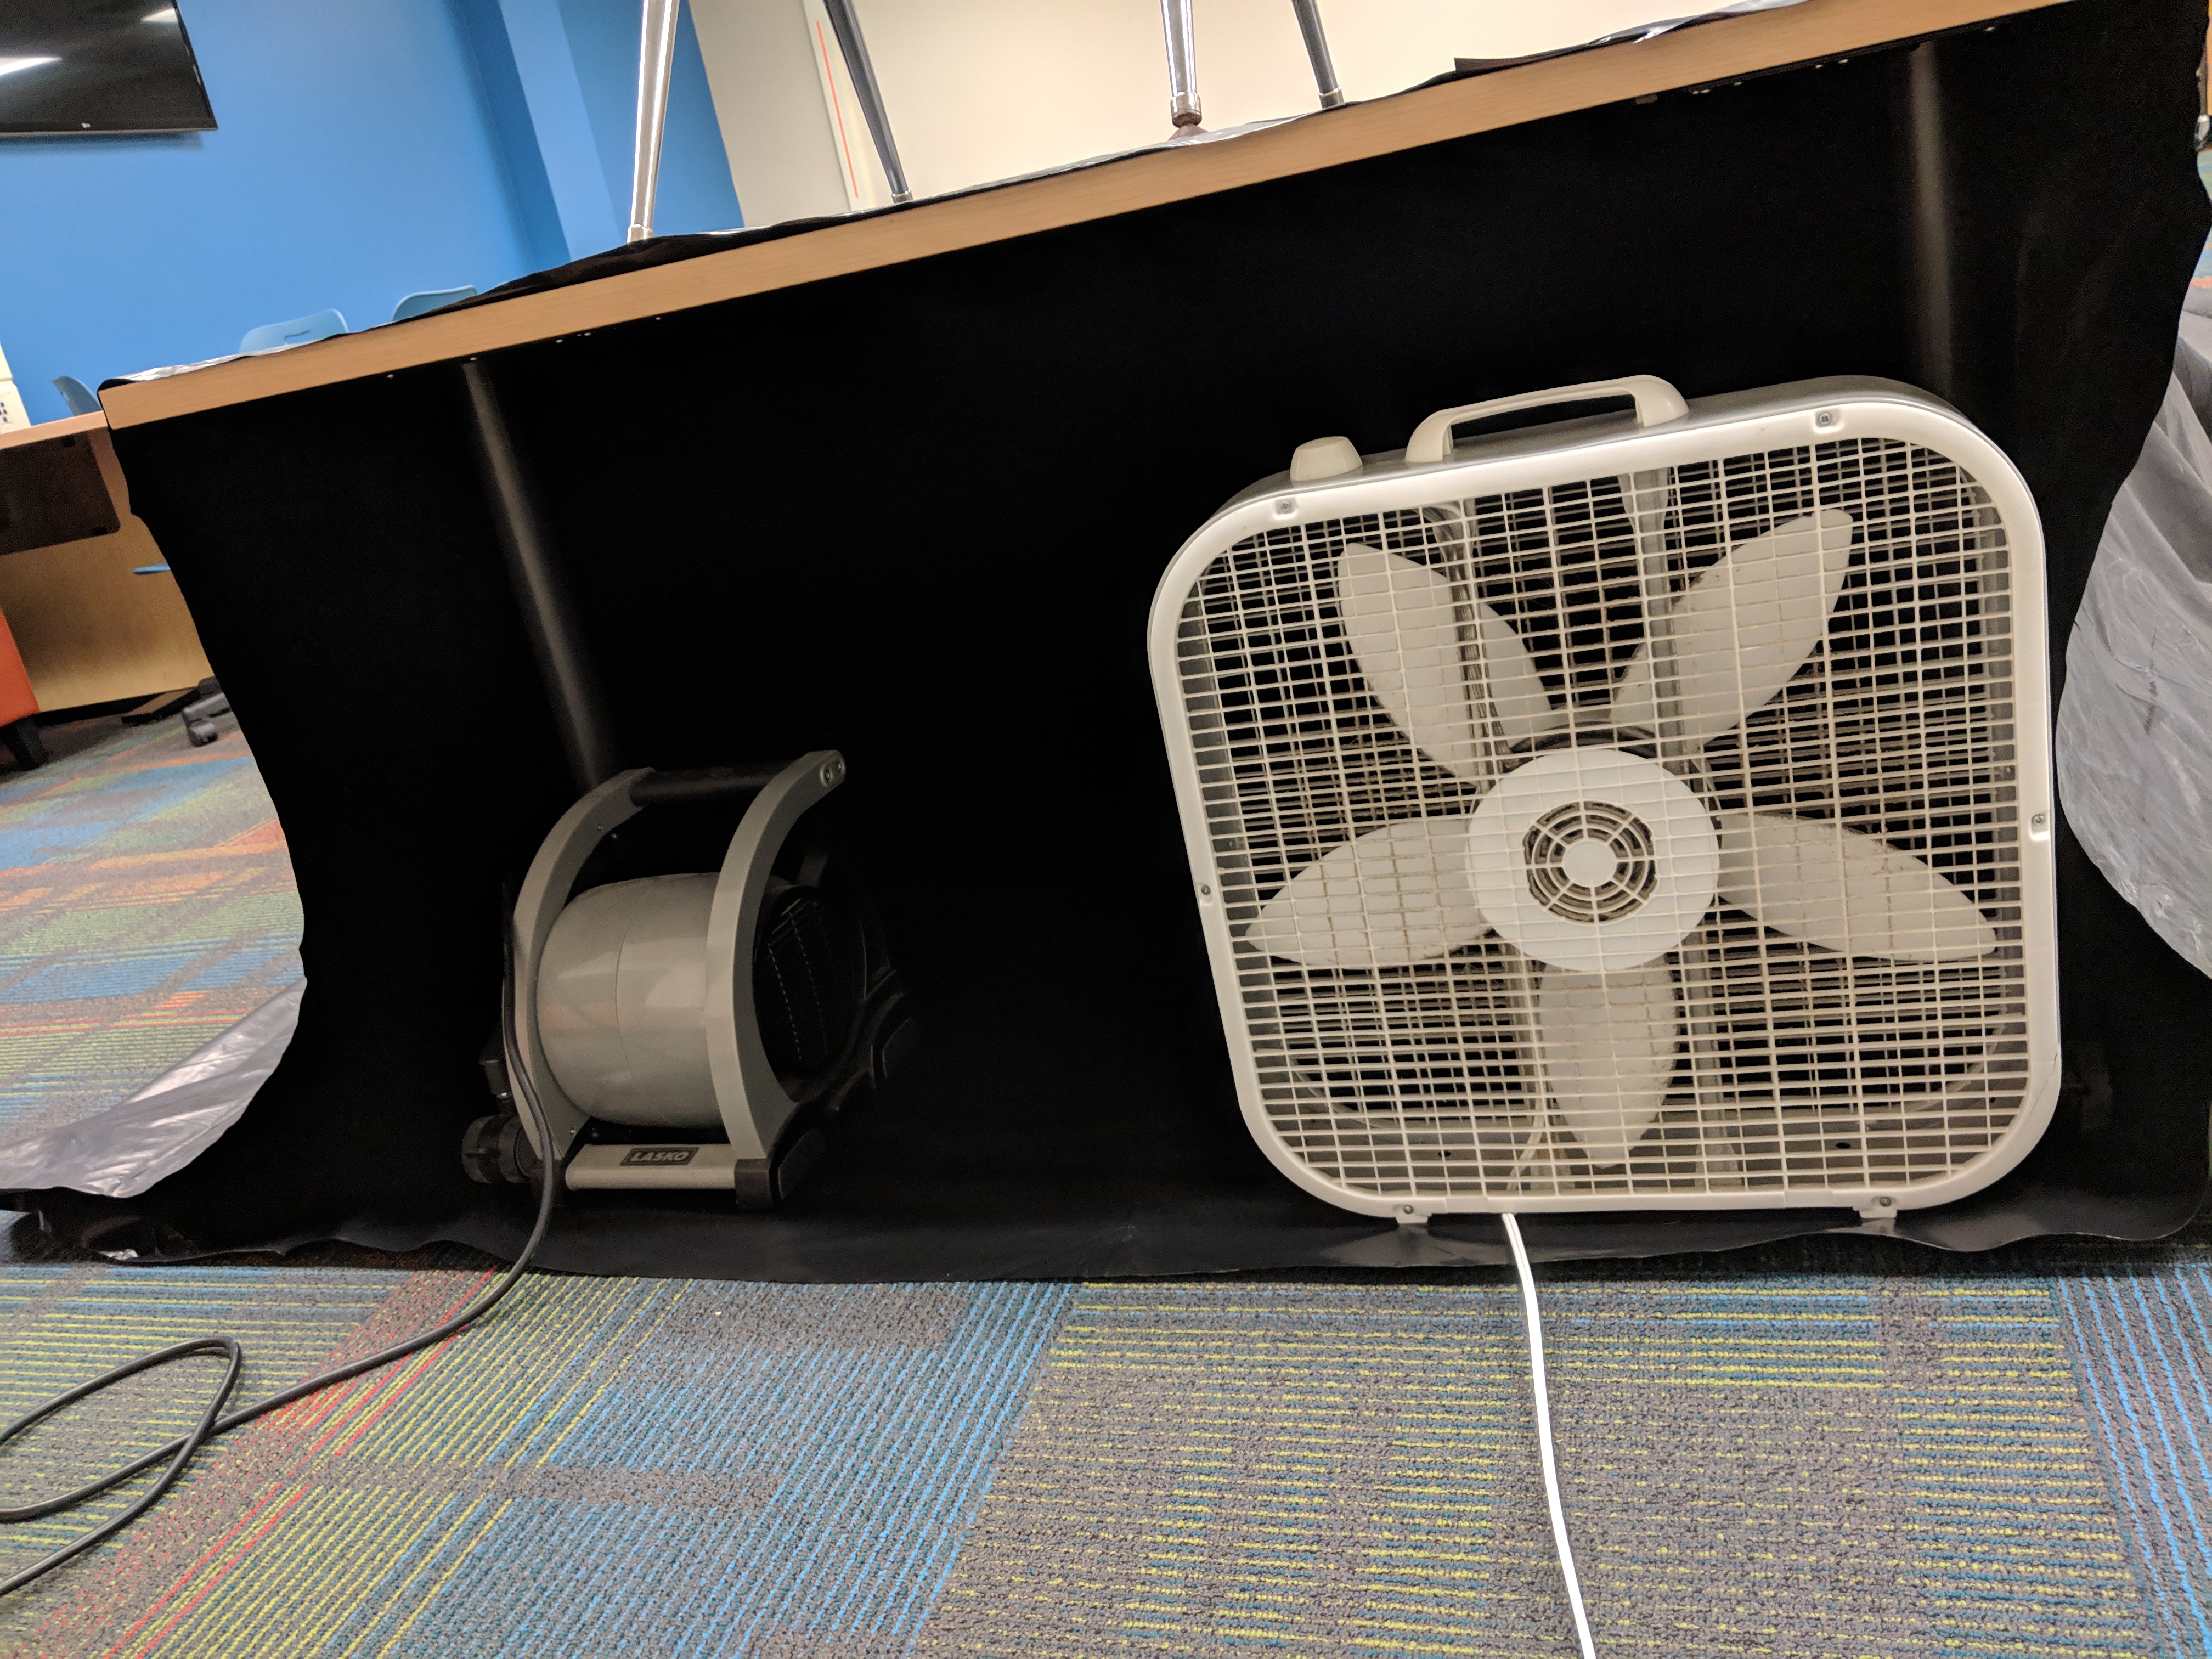
Place a ‘doorway’ at the remaining open end of the tube. In the past I have used a desk, two chairs, two music stands, or whatever I had on hand. This year I used a table on wheels because it had a nice big opening that I could easily drop a blanket over to plug the hole. The plastic (and blanket cover) was secured to the desk using 2″ metal clamps with rubber tips that I bought at the hardware store for a buck each. They hold so much better than the binder clips I used last year.
Once you have the ‘doorway’ figured out, situate your fans on the side of your opening, leaving enough space in the middle for students to crawl through. This part is super customizable and you’ll have to play with it until you find something that works for you. After getting everything situated, I then taped some of the remaining edges to the fans or to themselves to create less of a gap for air to escape.
Before the clamps & blanket, still playing around with how to situate everything:


Blanket in place and sides taped up to keep as much air in as possible:


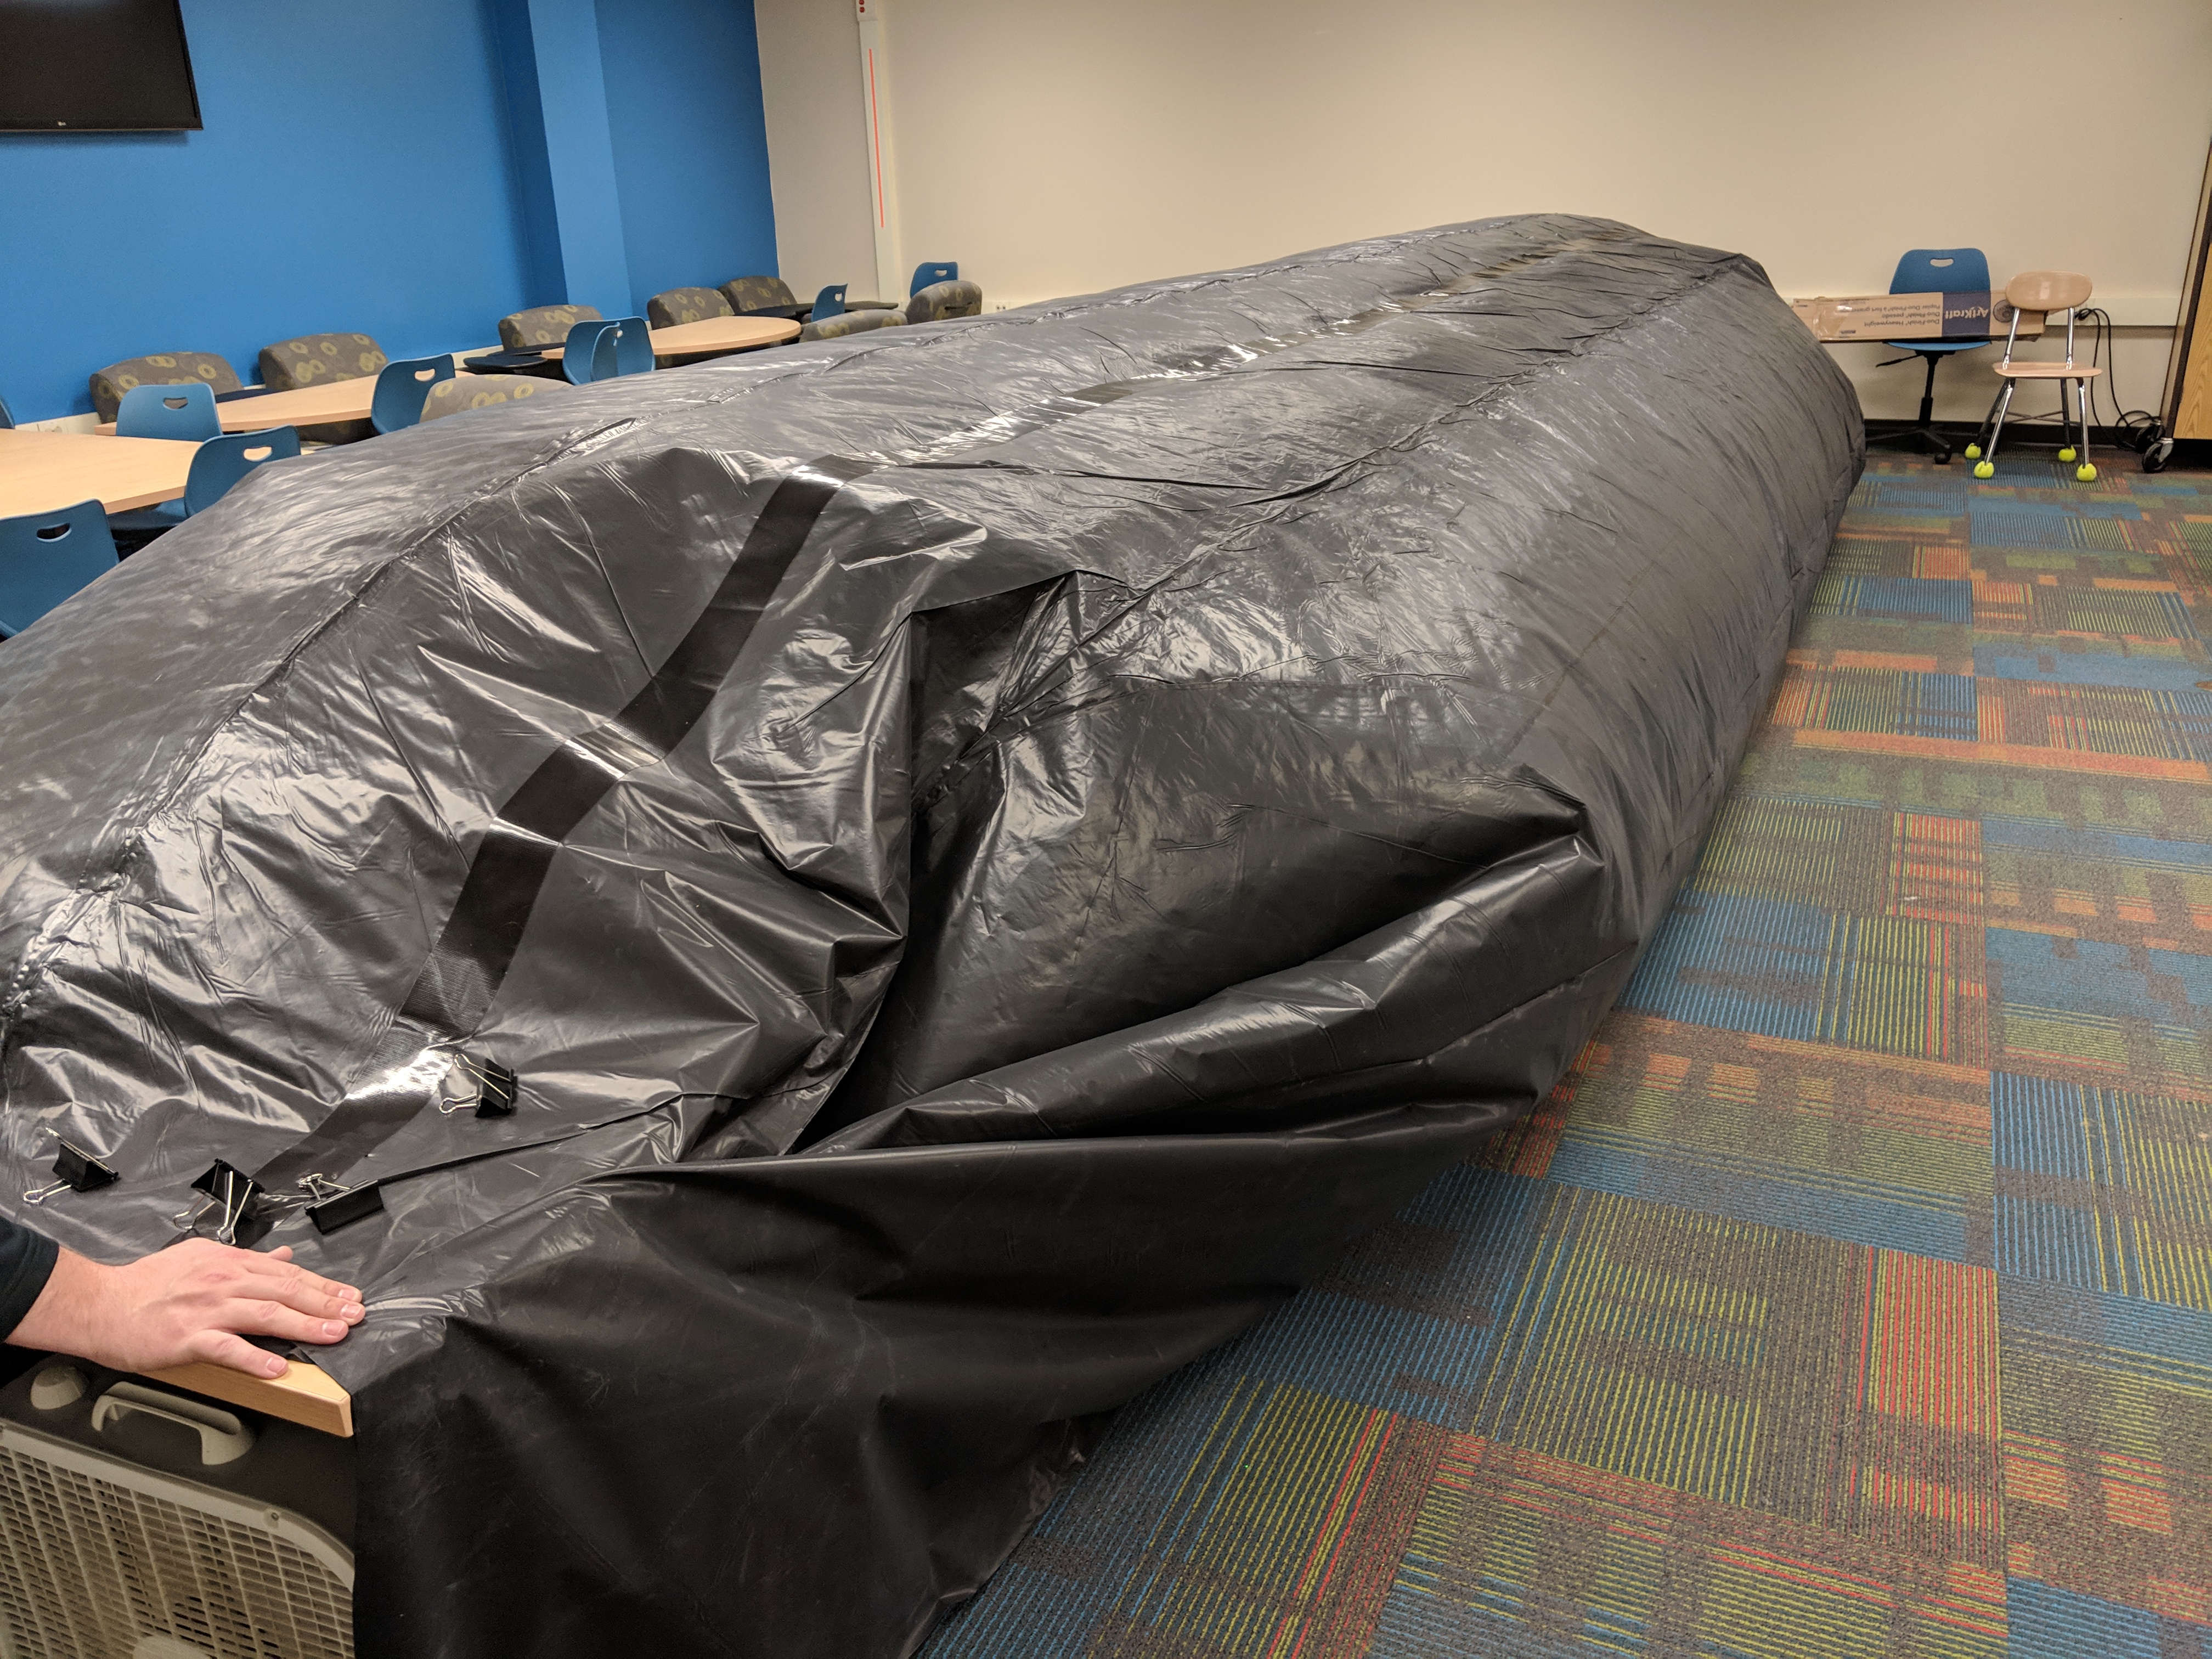
Finished Product!


Leave a comment