
I’m happy with how far I’ve come in the last two weeks or so, although I’m sure I could work much faster if it wasn’t also my first year teaching. It has to get easier as the years go by…right?!?!
Anyways, I thought I’d share a picture of my setup:
I found this table on Craigslist from someone who happened to live about 10 minutes from me. It came with the exact same sewing machine I had, albeit a bit older and worse off, so we (boyfriend and I) took the old one off and put mine on. I wasn’t sure that was even possible but my boyfriend is pretty handy. It needs to be refinished…but that is a project for another day.
Cutting out the first few pieces from my muslin for a mock up. I used the same pattern pieces I traced two years ago, as my size hasn’t changed at all, so at least I didn’t have to do that again.
First and second panels attached. Because it’s just a toile I didn’t need a busk, instead sewing down the center to close it up. (Although that did make it tricky to try on once I laced it a bit later…) My ironing setup has since been upgraded, but here I was using a painter’s mini-scaffolding covered with a towel. It worked pretty well!
Third panel sewn on both sides, starting to look like something meaningful.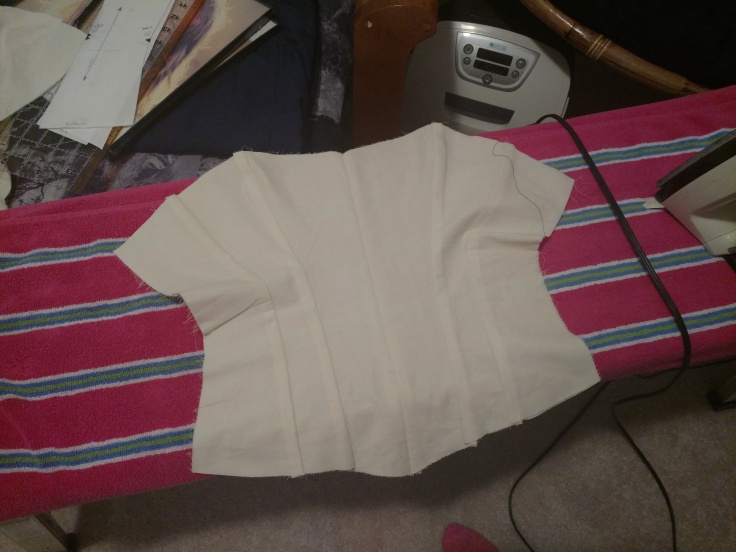
Around this time, my corset supplies were delivered. As this is the first corset I’ve ever made, I really have no idea what I’m doing. However, I did my research and think I am capable of cutting my own boning to save some $$$. My grommets are also size 0 instead of 00 because I already had a setting kit in size 0. I think in the future I’m going to just buy a new setting kit in size 00, since 0 seems a bit large for my taste. The pattern typically uses a 14 inch busk but I got 13 because I know I’ll need extra room evening out the top edges and doing the binding.
More progress. I LOVE my sewing machine. It’s definitely simple, but it works like a horse and I don’t think I could break it if I tried.
5th panel attached to both sides and about to cut out the 6th panel. I know the arrow on the pattern shows the grain line, and I thought that meant vertically? But I ended up using the horizontal grain line because I found it had much less stretch than the vertical one.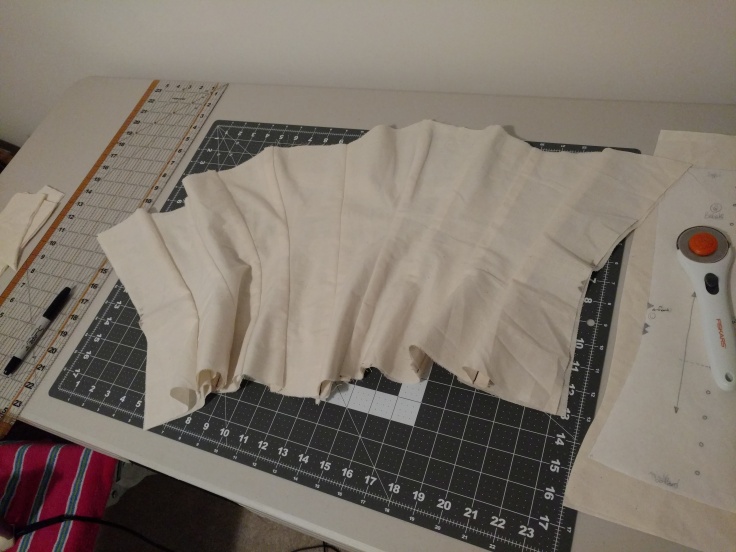
Sometimes I have a hard time seeing the tape line for my 1/2 inch seam allowance, so I made a make-shift raised guide to just press my fabric against. In the future I think I’ll just use a small dowel.
Kitz likes to help.
And by help I mean sleep on everything I try to do. I swear, whatever I touched last she just has to get her paws on.
She’s thinking about it here, too! I busted out the spray bottle not long after this picture.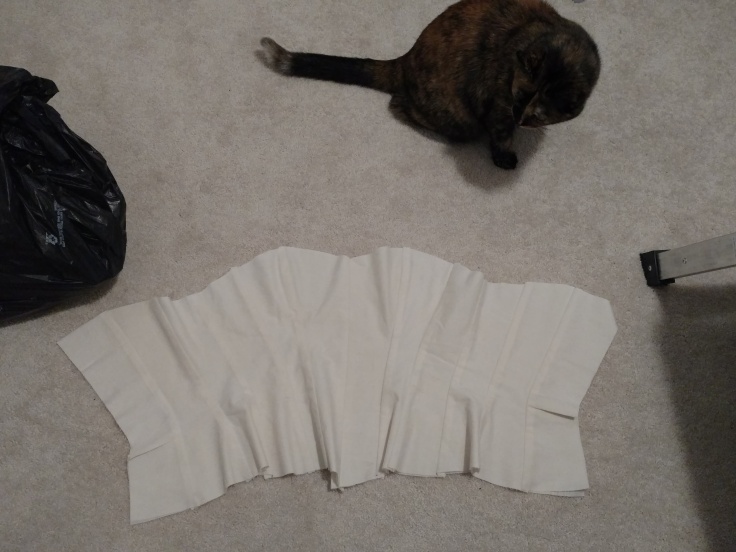
Ahh! Done! Well…almost. I still needed to finish the straight edges on that last panel piece. Which was a pain in the bum, by the way, because I have no real accurate 1/16th seam guide. I just eyeball it with my presser foot.
Some of my eyeballed 1/16th inch top stitching. It actually turned out pretty accurate. However, I only did two seams on each side because this is a toile and I was getting anxious to make the real thing.

I found the idea for lacing strips on Bridges on the Body, and decided to make a pair. These took almost as long as the WHOLE toile! Getting an awl all the way through 3 layers of cotton duck is downright painful. I ended up with blisters, my boyfriend ended up with blisters…it wasn’t pretty. 
Setting the grommets. If you look at the bottom one in the picture, I managed to forget the washer on one of them and hammered it as-is. >_> Thankfully, it seems to be holding up so it all worked out in the end.
Next step is to attach the strips to the toile and try it on!


Leave a comment